
Complete flight analysis for model rockets

Quick Start
Welcome!
This is the third iteration of model rocketry’s most comprehensive standalone flight analysis instrument, AltimeterTwo. For this version, we increased the range of the accelerometer to 64 gees. Be aware that while AltimeterTwo is now capable of measuring such massive acceleration, it may not be able to survive every flight at the high end of this range. That’s extreme acceleration!
This guide was designed to get you started. More complete information is available online at www.jollylogic.com. You can also shop for accessories and read stories about how others are using AltimeterTwo on our News page.
We’d love to hear from you, as well.
Happy flying!

John Beans
Founder, Jolly Logic
Danville, California
john@jollylogic.com
- 1A quick button click turns it on and off
- 2Hold the button to open the menu…
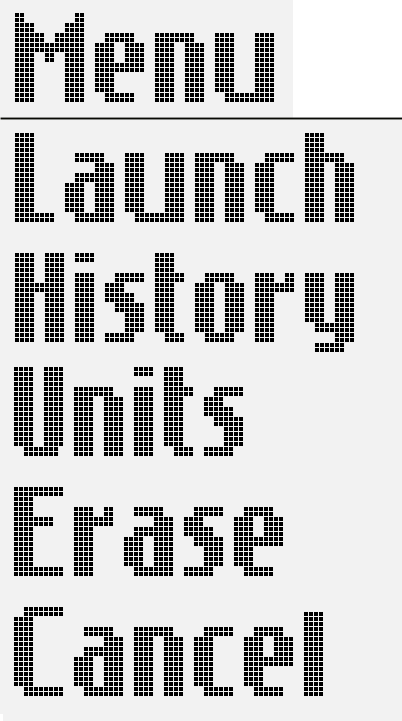
- 3…and let go to choose an item
- 4Select Launch before each flight
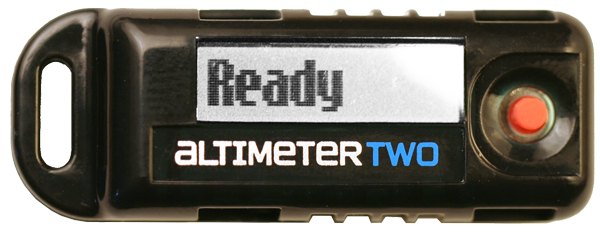
- 5When you see Ready it’s ready to fly!
Visual Tour
Attachment Point
Here is where you fasten your altimeter to your model.
Be careful not to block the pressure port opening underneath the attachment point.
(Also, see the Mounting Tips section.)
Push Button
- Quick press for ON/OFF
- Hold the button to see more options.
- Release the button when you see the option you want:
- Launch – Begin next flight
- History – Show last 500 flights, most recent first
- Units – Switch between feet and meters
- Erase – Erase all flights from memory
- Cancel – Leave menu, do nothing
Display
Displays flight statistics after each flight, and the current battery charge level.
Be sure to select Launch and see “Ready” before each flight.
Altitudes higher than 9,999 feet are shown in thousands of feet, and are indicated with a decimal point in the display.
Recharging Connector
This is a USB Micro-B port. Plug the included cable into standard USB ports to recharge.
See the Recharging section for more info.
Flight Data
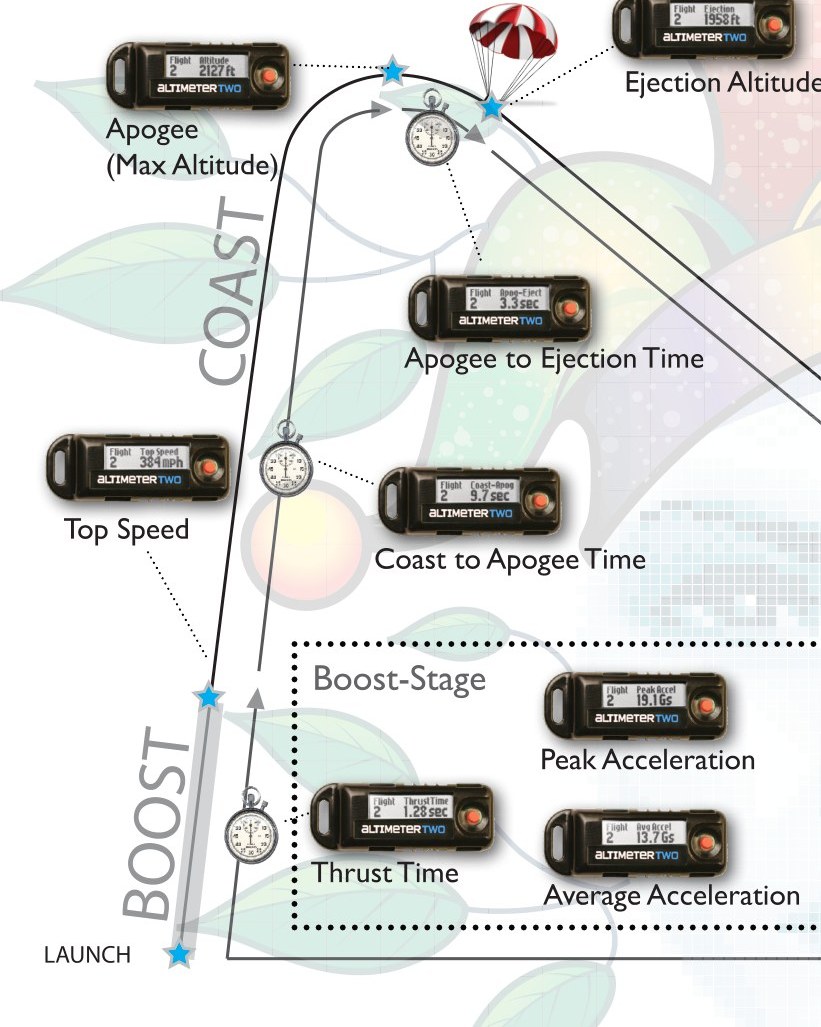
Special Situations
- AltimeterTwo senses launch by sensing thrust (not altitude); handle gently after selecting Launch to avoid “false launches” and nonsense data.
- If ejection occurs BEFORE the apogee (max altitude), Apogee-Ejection time will be negative.
- If ejection is very gentle, AltimeterTwo may not detect it. In that case, ejection is assumed to take place at max altitude.
- AltimeterTwo is capable of measuring maximum accelerations of up to 64 Gs. If the rocket exceeds the G-limit during motor thrust phase the Top Speed, Peak Acceleration, and Average Acceleration will be understated. They will be labeled with a “>” sign in front of them.
G-limit overload detection will notify you with a “>” marker that a statistic may be below its actual value.
Mounting Tips
Let It Breathe: Air Holes in Containers
AltimeterTwo uses an atmospheric pressure sensor to detect altitude, so it needs to be exposed to outside air pressure. If you put it in a container, or if your rocket payload compartment is airtight, be sure to add a few holes to allow air to escape at altitude.
The larger the airspace is in your model, the larger the holes should be. Remember: if your model can rapidly gain or lose altitude, your vent holes need to allow air to rapidly enter and exit the enclosure.
Avoid Really Strong Airflow
Airflow near the nosecone of the rocket can create pressure waves that can sometimes confuse AltimeterTwo and result in odd readings.
Specialized Mounting Accessories
Check the Jolly Logic website for mounting accessories such as the Snap Mount. The Snap Mount can be taped, screwed, or attached with Velcro™ to hold it in place. AltimeterTwo can then be quickly snapped in place.
If you mount your AltimeterTwo with your parachute, try to ensure that the altimeter is protected from direct contact with ejection gases.
Basic Flight Instructions
Before Each Flight
- Press and hold the button to bring up the menu
- Let go of the button when you see Launch
You should see Ready on the screen. You are ready to fly!
After Each Flight
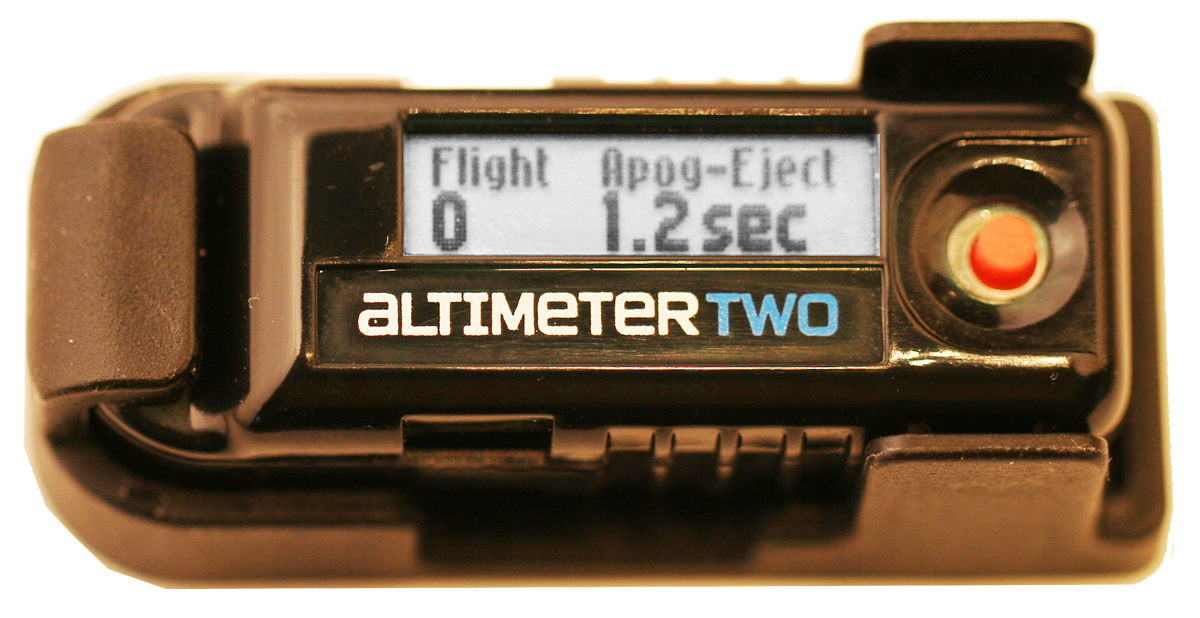
- You will see each of the data items for the flight
- The flight has been stored; you can turn the altimeter off or perform other activities safely.
Flight Logic
- AltimeterTwo senses launch by sensing acceleration. Try not to bump or jostle it too much as you load it on the launch pad, or it will sense a false launch and collect nonsense data. If you ever have a flight with a very low altitude, it is probably because of rough handling just before launch.
- AltimeterTwo will automatically turn off after 2 hours from the time that the button was last pressed, or from launch.
- If you have a flight where Coast-Apogee and Apogee-Eject times are roughly the negative of each other, this is because AltimeterTwo mistook a rapid deceleration after burnout as ejection.
- For multi-stage flights, AltimeterTwo will report Thrust Time, Acceleration, and Top Speed based on the first engine only. Coast to Apogee time will begin after the first engine burnout and include subsequent stages. Apogee to Ejection Time and Ejection Altitude will not be reliable. Max Altitude, Descent Rate, and Flight Duration will work as usual.
Recharging
Plug AltimeterTwo into any USB port to recharge. If you don’t see a light when you plug it in, the USB port must not have power. Try another one.
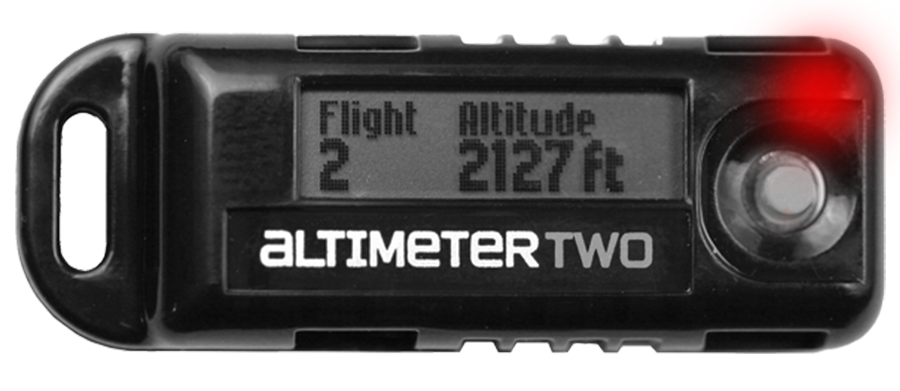
Red Light
Your altimeter is charging correctly. Recharging should be complete in less than 2 hours.
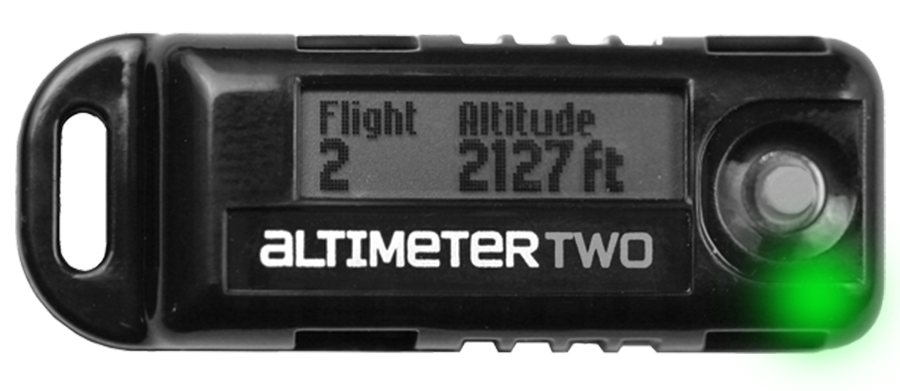
Green Light
Your altimeter is 100% charged.
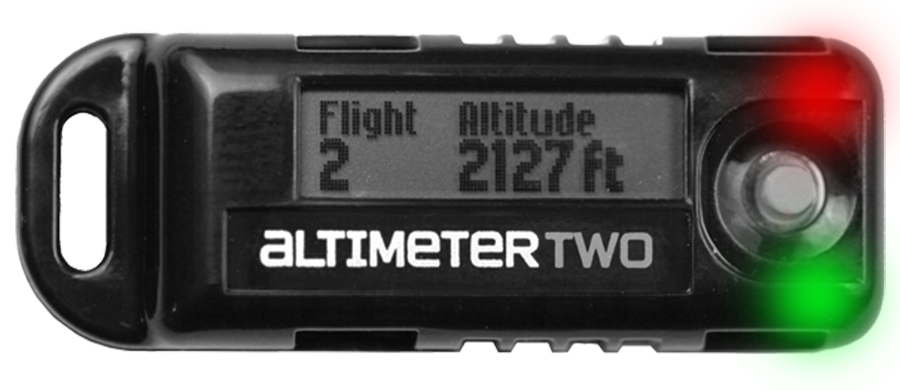
Red + Green Light
Problem! Either this USB port is not providing enough power, or your battery has a problem.
- Try another USB port.
- Open your altimeter and make sure the battery connector is snapped in. See our website for instructions on how to do this.
- Contact support@jollylogic.com.
Does It Hurt to Charge It All the Time?
Nope. In fact, Lithium Polymer batteries like the one in the AltimeterTwo prefer to be charged all the time, and there’s no “memory effect” to worry about. However, running down below zero charge will ruin them over time.
What Type of Connector Does AltimeterTwo Have?
The very common USB Micro-B.

More Info & Support
My results make no sense, what happened?
AltimeterTwo senses launch by sensing movement. If you bump it too hard while loading it on the launch pad, it may detect a “false launch.” When this happens the max altitude may be very low and other values may be nonsense. Be gentle while loading, and verify the Ready status just prior to launch.
It also requires at least 0.16 seconds of thrust, so some water rockets may have issues detecting launch and working properly.
Why Does the Red Light Come On Every Time I Plug It In?
Even when it is 100% charged, the red light will come on when you first plug in AltimeterTwo while the recharging logic checks the status of the battery. In just a few moments, it will turn green again. This is normal behavior.
Will the Battery Eventually Wear Out?
Well, yes, all batteries wear out. If your battery life drops below 4 hours, you should consider replacing it. This is a unique battery; Jolly Logic is the only place you can get a replacement. See our website for instructions.
Spare Parts
More info is available at www.jollylogic.com, including helpful videos, tutorials, FAQs, and troubleshooting guides.
The plastic case, LCD display, and battery are user-replaceable. If you damage your AltimeterTwo, please see www.jollylogic.com to order replacement parts and to see repair instructions.
Have questions or suggestions? Contact us at support@jollylogic.com. We’d love to hear from you, including your experiences with AltimeterTwo.
- For rockets ONLY
- Measures peak altitude to 29,500 feet (9000 m)
- Also measures top speed, engine thrust time, acceleration (to 64 Gs), coast-to-apogee time, apogee-to-ejection time, parachute ejection altitude, descent rate, and flight duration
- Stores 500 flights
- Rechargeable from any USB port
Visit www.jollylogic.com for complete information
Download the printed guide (PDF)
Jolly Logic® is a registered trademark of Jolly Logic, LLC.